Domain Distortion in Houdini & Nuke
Whilst experimenting more with Houdini and its displacement capabilities, I delved deeper into noise and vector pattern generation, specifically domain distortion.
When generating a pattern procedurally, you have to define the coordinates used to draw it. The default wisdom is to use the same linear coordinates to generate the pattern as you would to display it, however it’s also possible to declare your own custom values in their place. A way of breaking up and distorting procedural noise such that the results aren’t so uniform and recognizably synthetic is to use a modified version of the screen coordinates — you can use noise to distort your noise.
Domain distortion/warping can be applied to a range of uses of mathmatical patterns and generative effects, from 1D waveforms through to 2D and 3D noise patterns.
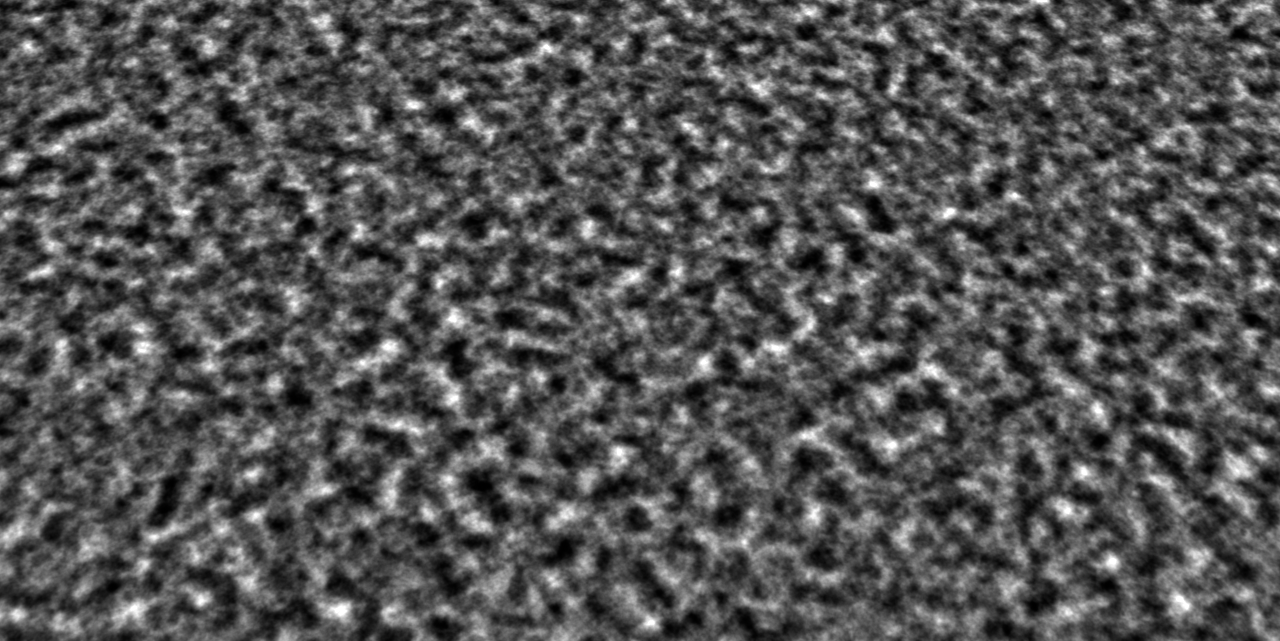
Default Fractal Brownian Motion pattern
fBm noise pattern generated using coordinates warped with the fBm pattern on the left
The Process
The process is simple enough, either multiply or add your noise (drawn from unchanged coordinates) to your coordinates. The range must be evenly distributed from negative to positive, to ensure that the coordinates are warped evenly in all directions. Luckily most noises default to some even distribution, but it’s worth checking documentation beforehand. One exception is Nuke’s fBm Noise generator, which is normalized. you’d need to offset this by -0.5 prior to adding to or multing by your coordinates.
Nuke
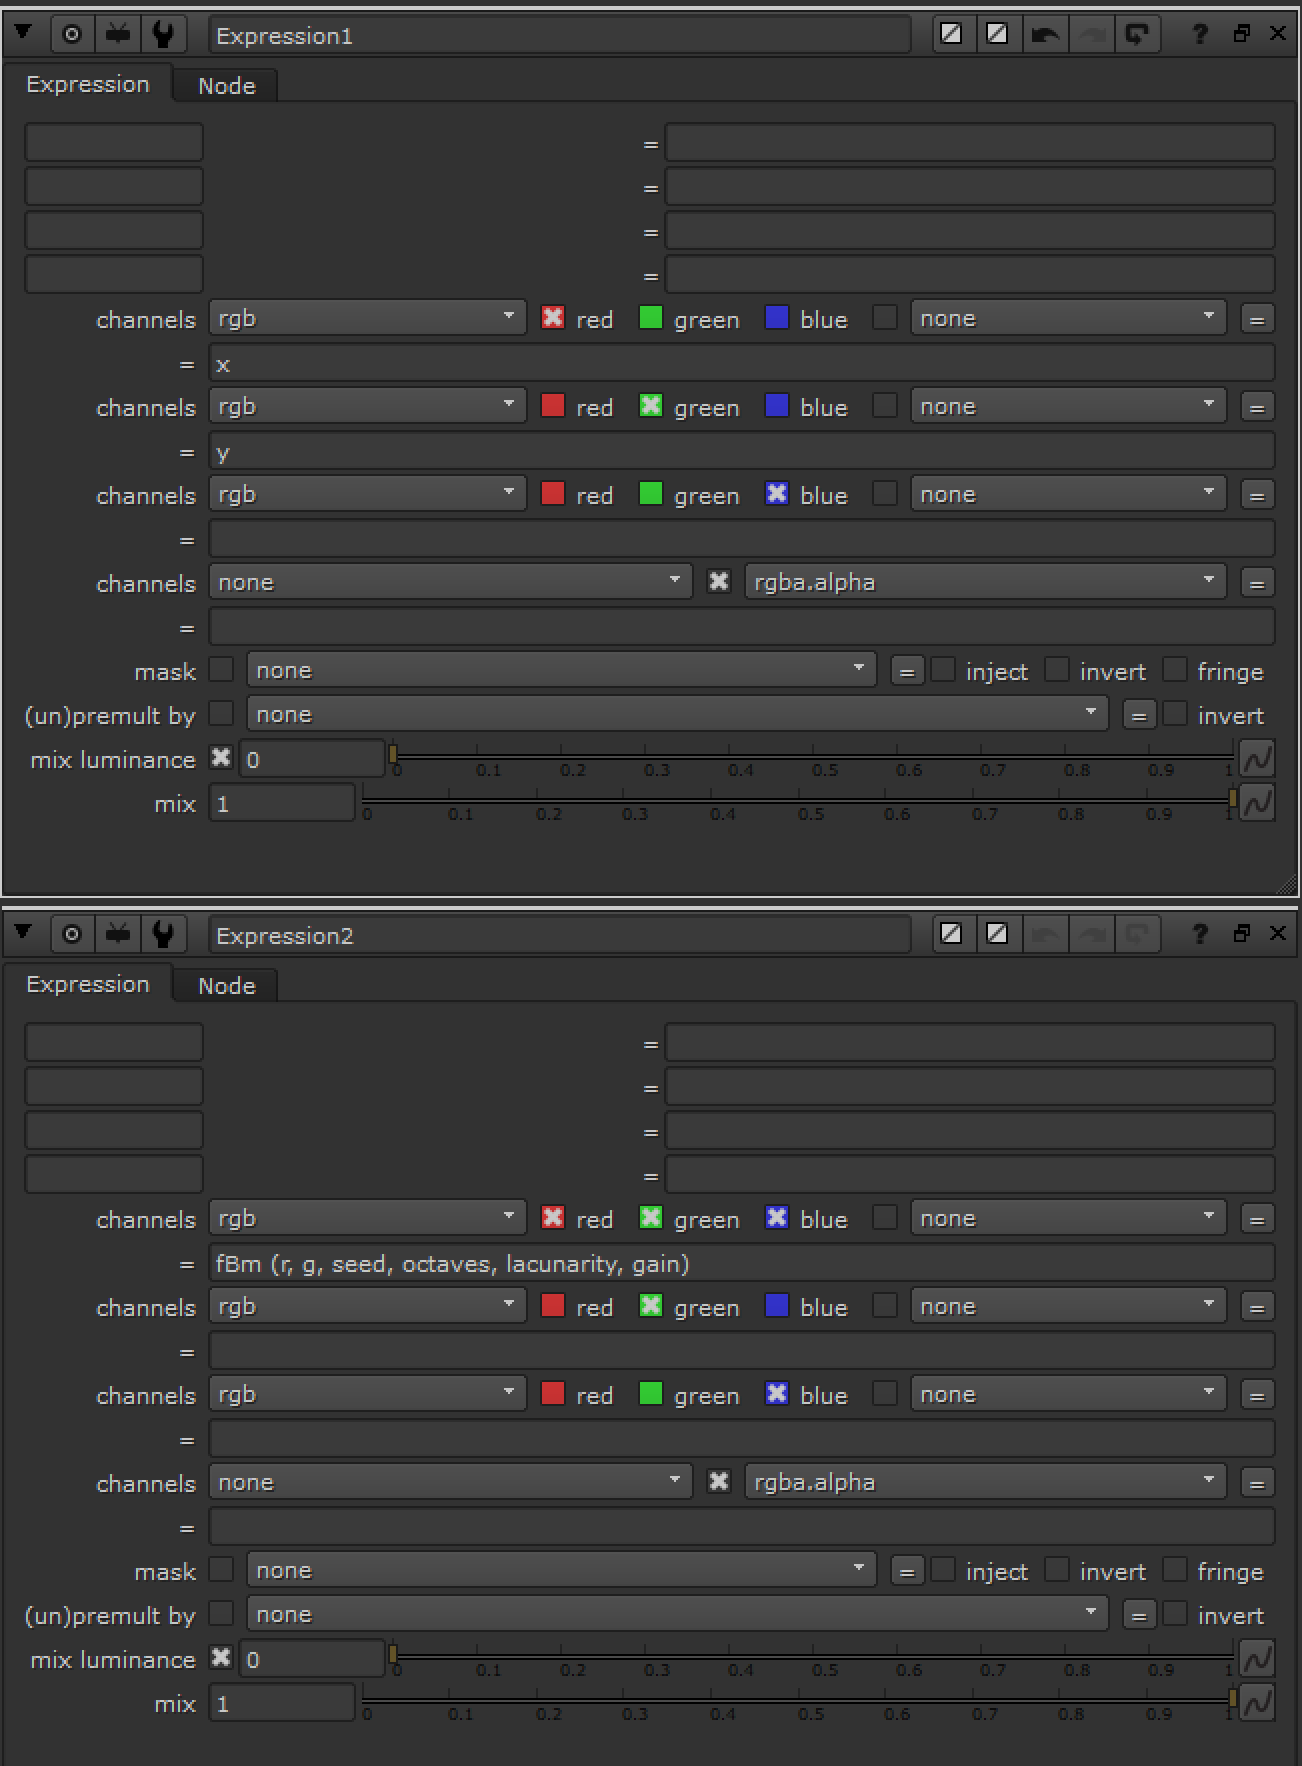
As Nuke has less granular control over the default procedural patterns it offers (and the coordinate inputs), you have to use the fBm expression and build your own Noise generator first.
Grab the fBm expression from Nuke’s function documentation.
fBm (x, y, z, octaves, lacunarity, gain)
Plugging this into 3D position data will generate 3D noise, but for Nuke we’ll stick to 2D. Replace the z with a “seed” control, and replace the x and y with r and g. This is how we’ll define our own coordinate input.
fBm (r, g, seed, octaves, lacunarity, gain)
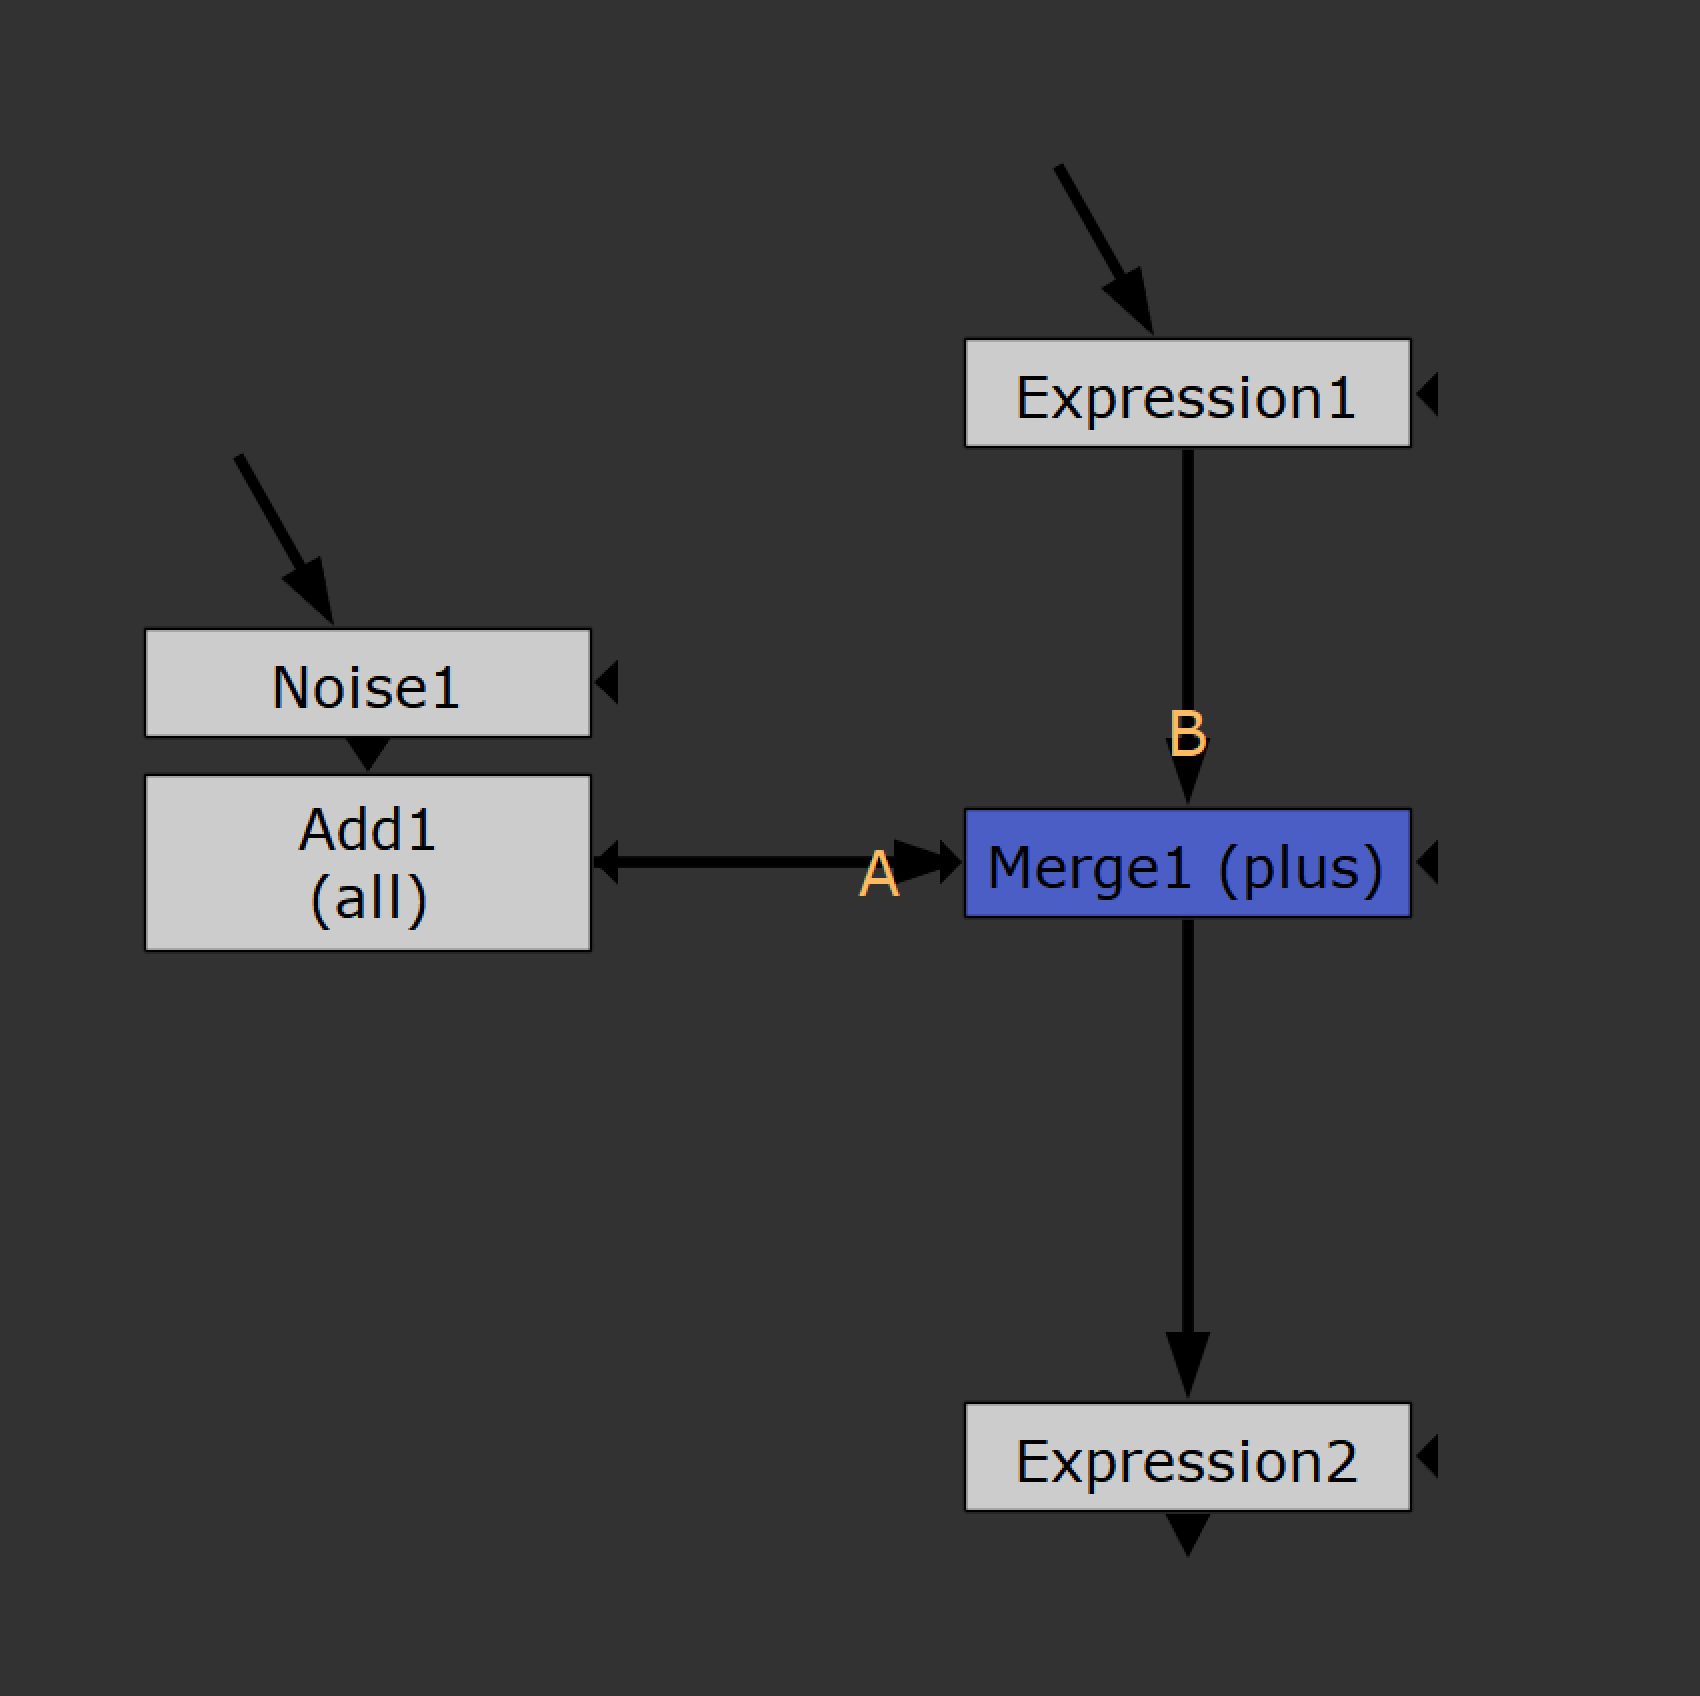
Set this as the RGB in an Expression node, and create the necessary user parameters. Plug it into another expression node, in the one above, set x and y as the red and green inputs.
Between the 2D nodes, anything you do will affect the coordinates. Add your -0.5 to +0.5 noise into the stream.
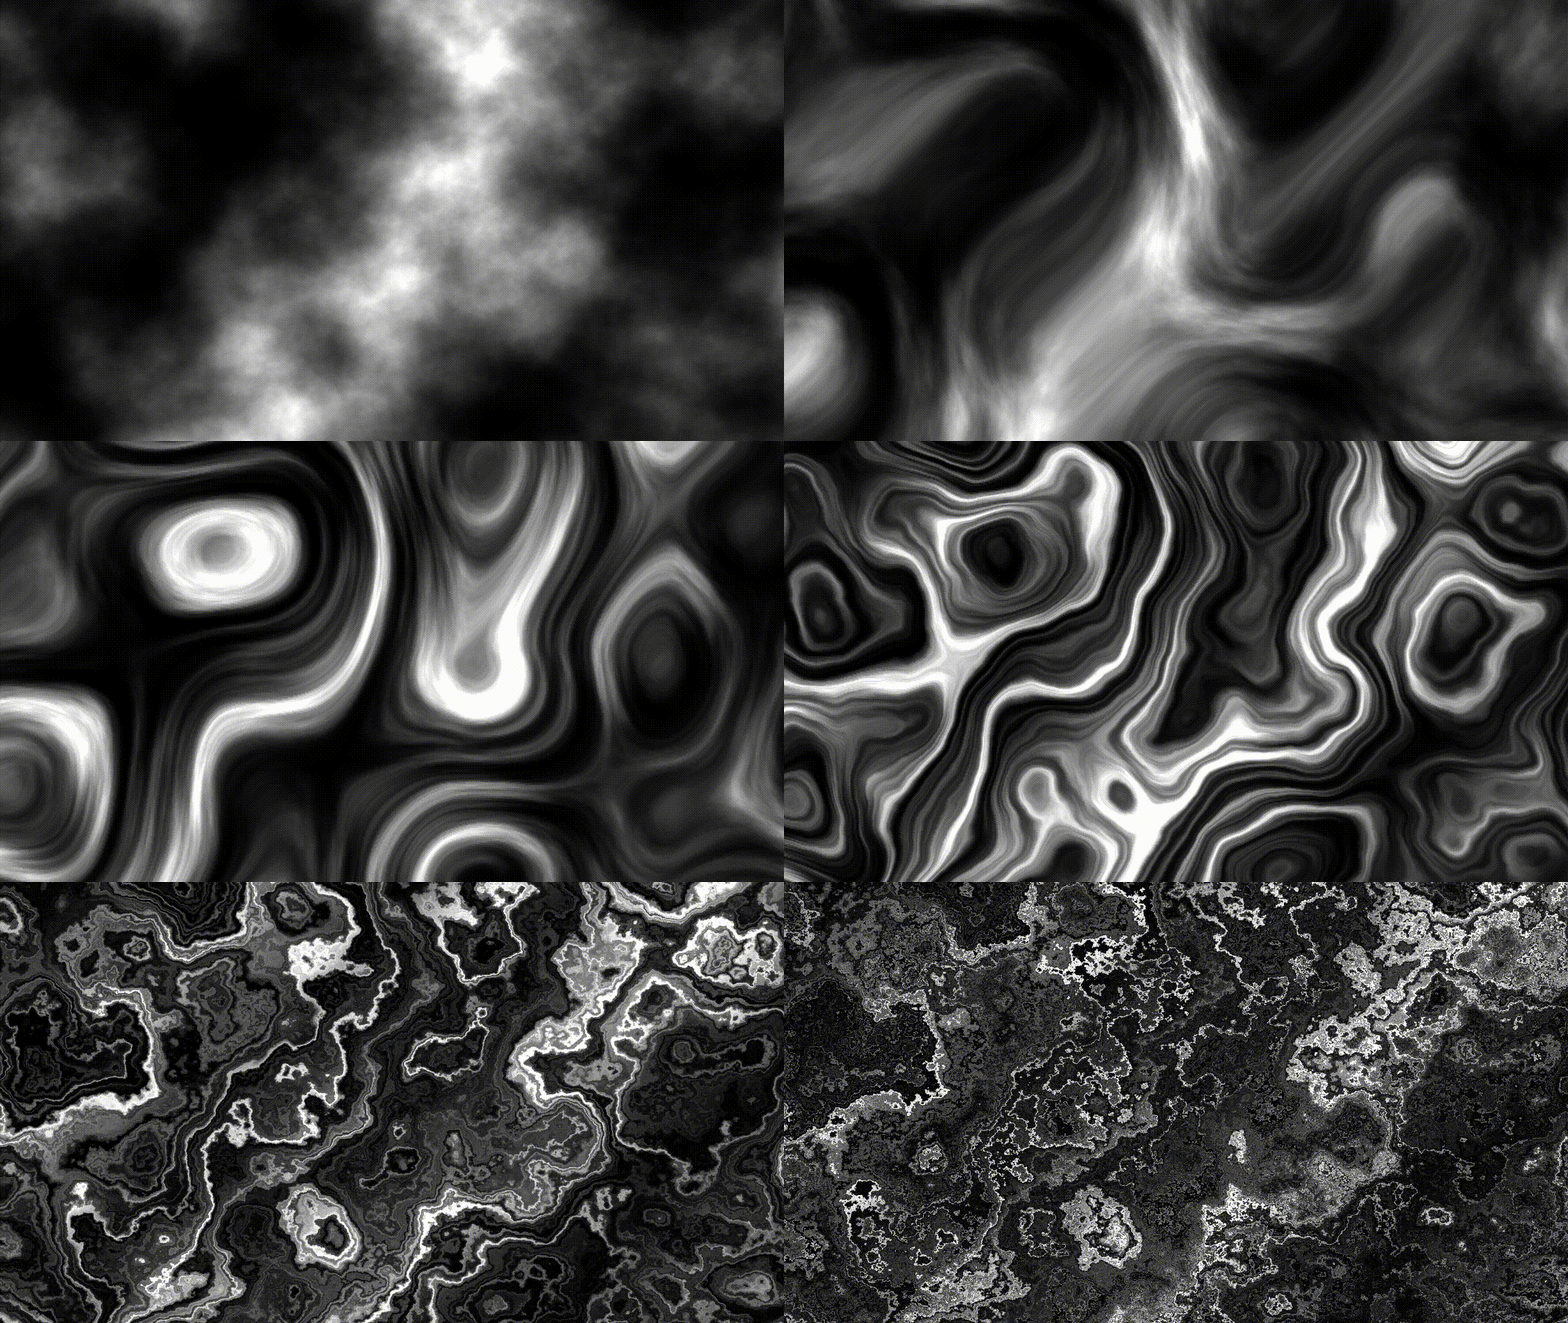
Now by amping up your noise (or whatever it is you use to warp the values) you’ll adjust the flow of the noise you’re generating.
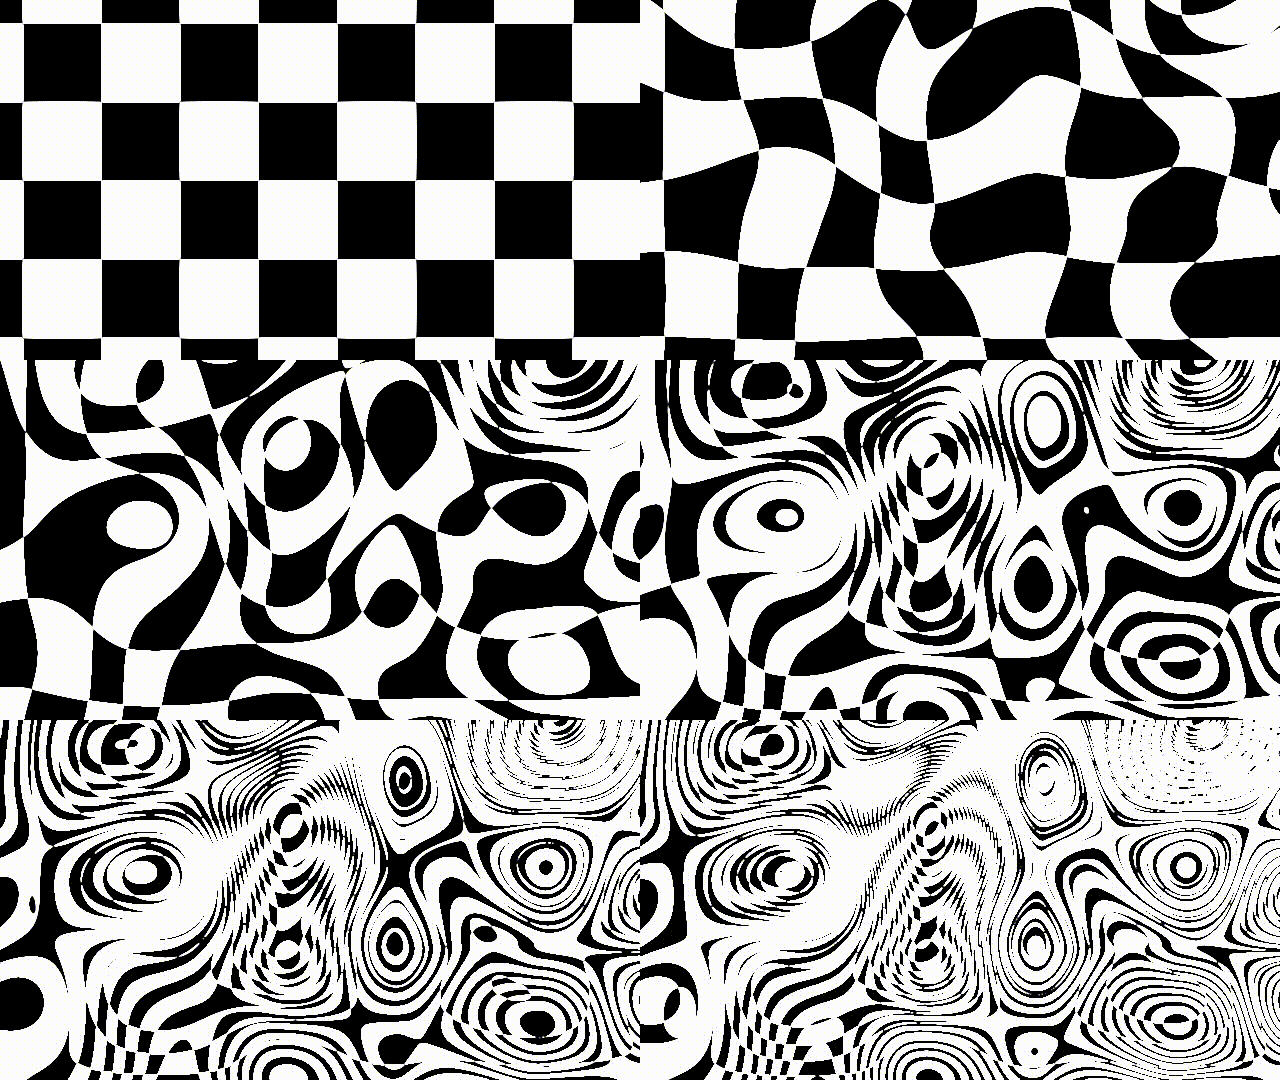
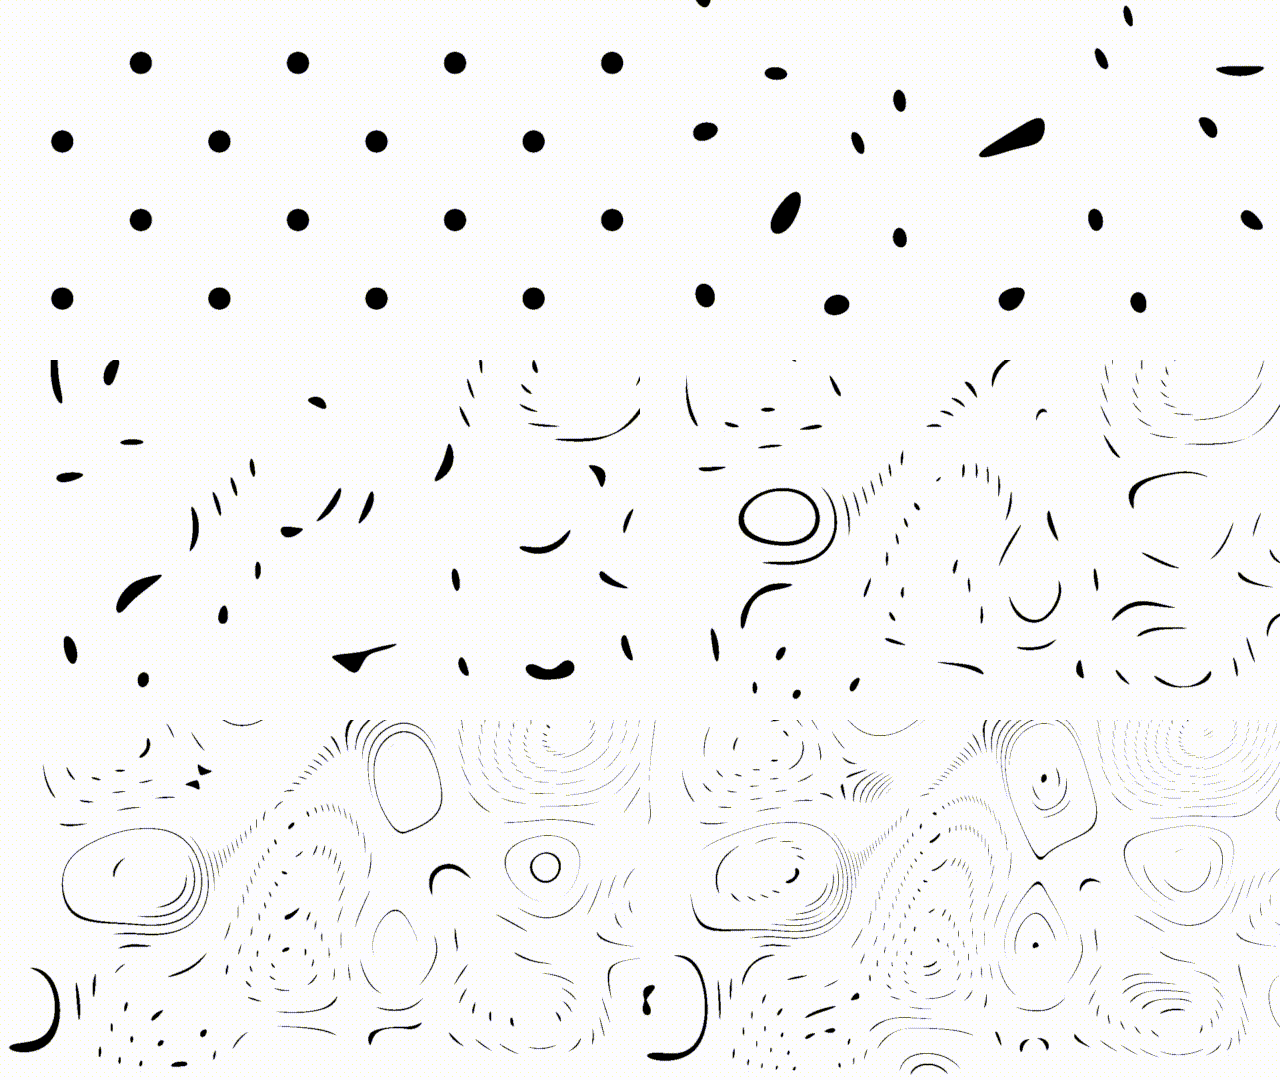
The great thing is that this can be done for any procedural pattern at all:
RestP Mattes
This is actually how restp/pref passes work— screenspace coordinates which are then warped as camera or geometry moves through the scene, letting you matchmove procedural shapes or patterns. This comes under the same catagory as you’re creating the shape after warping the coordinates. The benefit of this process, warping the space rather than the result (post-processing such as using an iDistort) is that there are no edge issues if pushed too far — a shape, matte or pattern theoretically continues infinitely out of frame.
Houdini
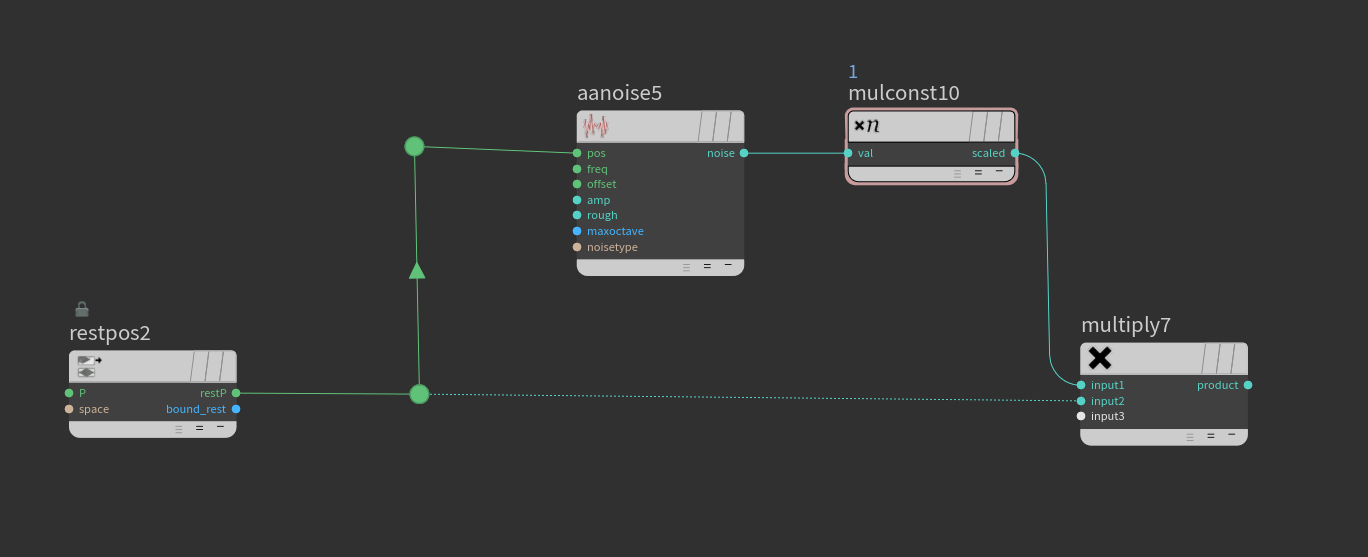
The process in Houdini is a little simpler as the noise functions need manual entry of coordinates already.
Try switching between multiplication and addition for the warping to achieve different results. Adding will add the noise uniformly accross all coordinates. Multiplying will have an exponential effect, leading to a lower frequency towards the origin.
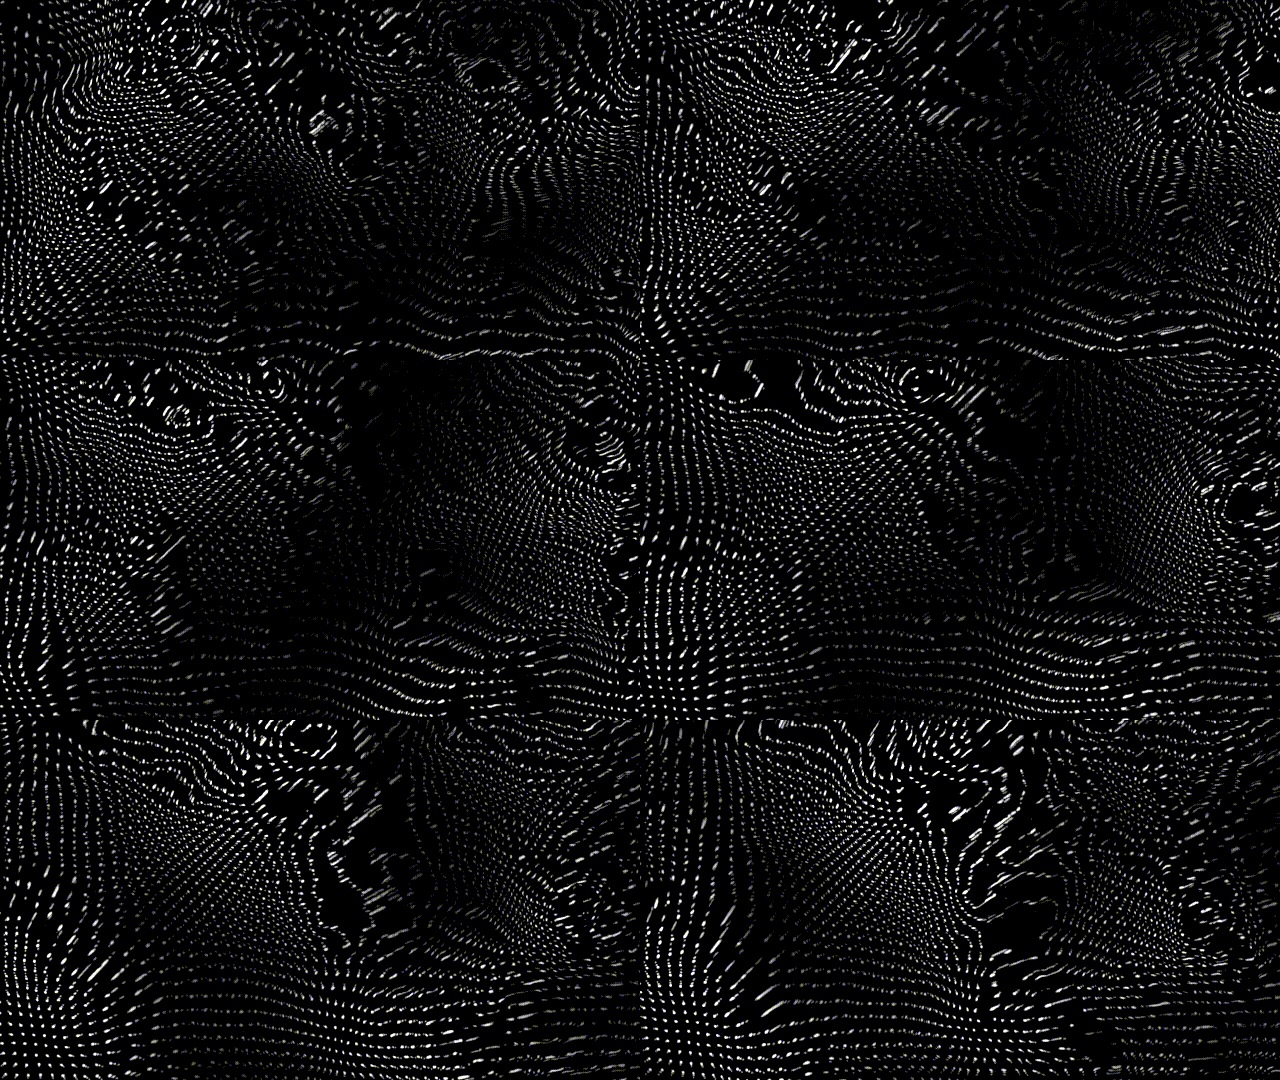
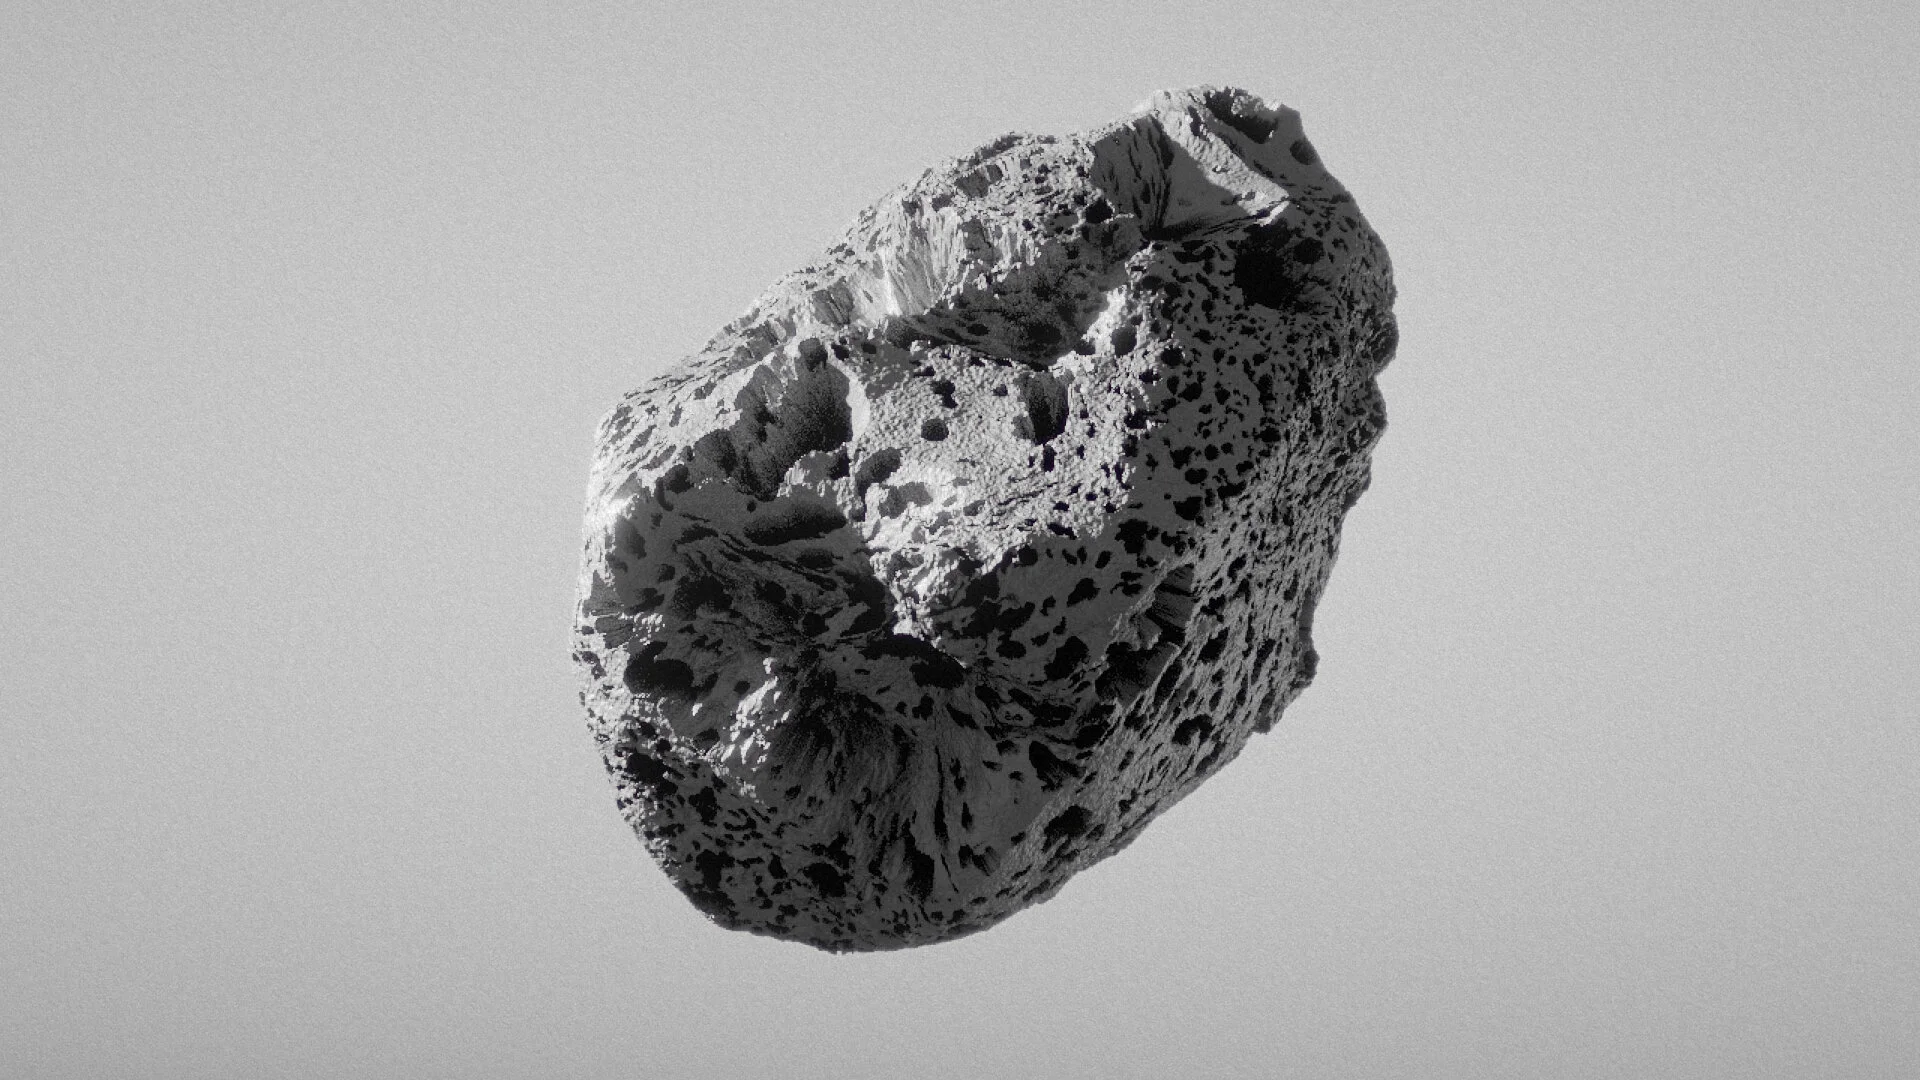
In the above examples I used domain warping to create unique shapes for the porous holes in the rock. The results from default Cell Noise and Worley Noise were too uniform, so by warping with Fractal Brownian Motion Noise I could achieve something more natural.
Unchanged
Distorted

